INSTALLATION GUIDE
Tools you will Need: Straight Edge for Cutting, Utility Knife
Optional: Flat Paint Primer
Optional: Flat Paint Primer
1. Prepare your wall or vertical surface
Helpful Tips:
- Ensure the surface is clean, smooth, and free of debris.
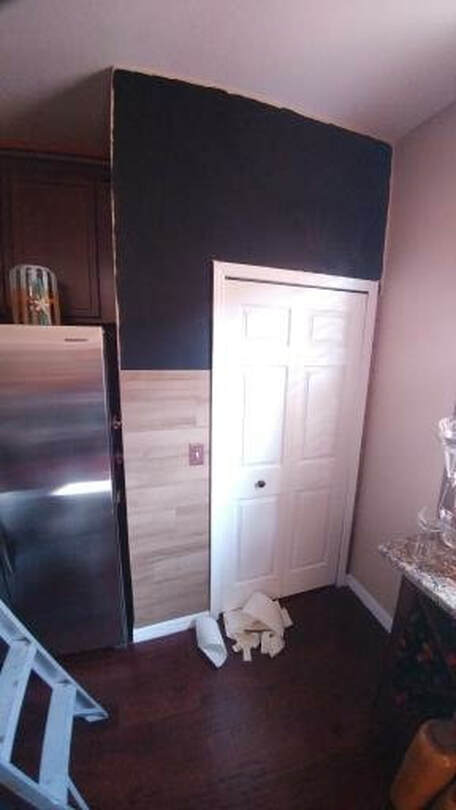
- If your surface is a semi-gloss or high-gloss, it is high recommended that you apply a layer of flat paint primer and let it dry before installing Accent Planks (use black or white paint primer based on the backer color of your Accent Planks).
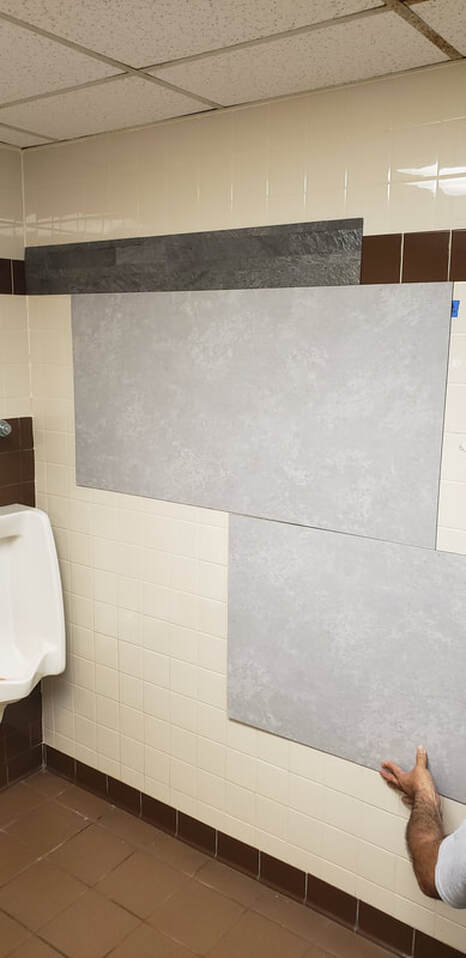
- When you get to the end of your row, you will likely need to cut your last plank to size. Do this by measuring the size of the plank that you will need, and then marking a line on one of your Accent Planks so you will know where to cut. Place the Accent Plank face up on a slip-free surface, and using a straight edge, cut the Accent Plank along the line you drew. You can continue to make cuts along your line until you have cut all the way through the plank, or you may snap the plank once it has been adequately scored.
- For example, it is generally considered to be more appropriate to stagger which side of each particular row will have the cut piece. There is no need to line up the seams.
- You may need to make additional cuts around light switches and electrical outlets on your wall. It is recommended that you safely install the planks just under the housing of your light switches or outlets and then tighten the housing onto the planks. This will allow for the outlet cover to install flush on top of the housing and planks. **Always be sure not to touch any part of your body or the planks directly to any live wires.**
Helpful Tips:
- If you have a bright colored wall, you may consider painting with a flat white or black paint primer prior to installing the Accent Planks, as you may see the wall if you make any errors.
- Electrical Outlet Extenders may be useful.
- Draw out your plank layout before installing.
- Be mindful of any live electrical outlets and never cut or touch live wire with your hands or with the Accent Planks.
- For cutting, use a slip free durable surface that you do not mind scratching. A firm straight edge is important when making cuts. Be careful to not let the plank or straight edge slip when making cuts.
|

|
| installation_guide.pdf |